TOP
AppStream Toolbar
There are separate URLs for agency buyers, TV/MVPD sellers, and Radio sellers. Please use the appropriate URL below:
For more details on logging in, please see:
AppStream: Logging in, Password Reset, and launching Freewheel Applications.
After logging in you will be presented with a page with the following Toolbar. Click on the icons below to learn more about each item.
Select a Toolbar Icon to Learn More


The Catalog icon displays a dropdown with available apps to access in AppStream. To launch an app, click the Catalog icon and select the app you want to launch.

Note: You can launch multiple instances of an app. If an app launches behind the currently displayed app, use the Switch Windows icon to switch to it.
You can also launch apps by clicking on View Catalog.
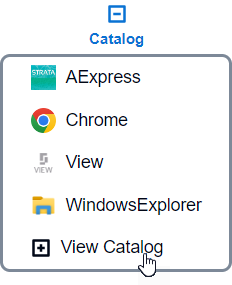
A Catalog dialog will display; click an icon to launch the app.
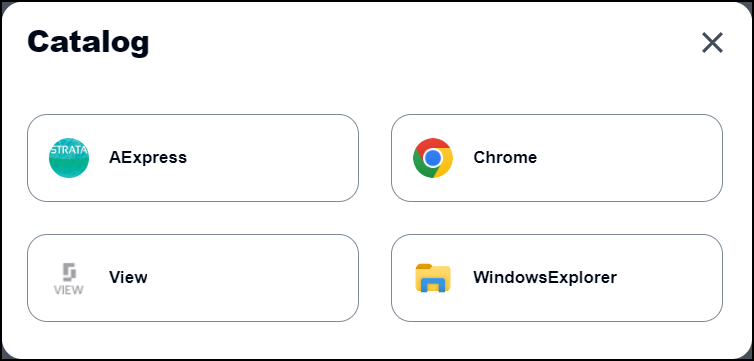
Selecting Support from the Catalog icon will take you to the Support Portal for submitting a support case.
Return To Top
The Windows icon allows you to switch between apps within AppStream. If you are working in one app but would like to switch to another, click the Windows icon in the toolbar. All open apps will display as separate windows. Click on the app you want to switch to.
If you launch an AppStream session and see a black background, try using the Windows icon to see if an application is open, or launch the application from the Catalog icon.
Note: You cannot drag windows to another monitor from within the Windows screen. Choose an app and then move it to another monitor.Return To Top

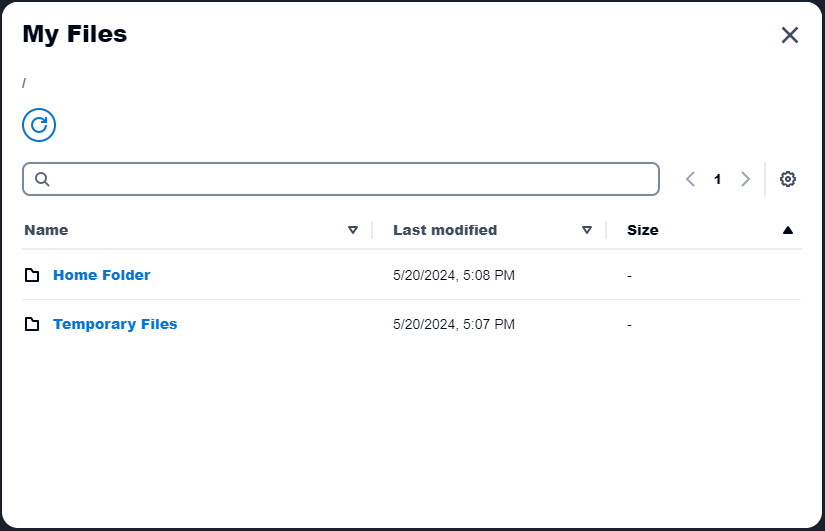
The My Files Icon displays the My Files dialog which allows the transfer of files between a local computer, network drive, or OneDrive and AppStream. Files can be uploaded to AppStream locations Temporary Files or Home Folder. You can sort, search by filename, or move through pages if there are multiple pages of files. When you click on the Temporary Files or Home Folder, more options are presented for handling files, creating folders, and uploading files.
For complete My Files details, please see AppStream - How to use My Files to upload, download, and move files. For information on downloading multiple files, please see AppStream - Downloading Multiple Files in Chrome, Firefox, or Edge.
Note: The Home Folder and Temporary Files folder are strictly temporary. When the AppStream session ends, all files in the Temporary Files folder will not be available on the next login. Files in the Home Folder will remain up to 10 days before being removed. Any necessary files needed for later use within AppStream should be moved to the Strata drive (aka S Drive). Any necessary files needed in the local computer MUST be downloaded from AppStream prior to ending the session. Also, if your AppStream session remains idle for 2 hours your session will time out and end automatically.
Return To Top

The Clipboard icon allows for copying and pasting between AppStream and a local computer. If you use Firefox on a PC to access AppStream, you'll need to use the Clipboard icon to copy/paste. Copying (Ctrl + C) and pasting (Ctrl + V) remains the same when using Chrome or Edge on a PC. If using a Mac, please review the Keyboard options under the Preferences icon for how to map keys for keyboard shortcuts.
NOTE: If copying large datasets, it is recommended that you copy/paste from within the AppStream session. You would need to upload the file via the My Files icon, or open Google Chrome in the session to access a web-based application like Google Sheets. For more information, please see AppStream - How to Copy and Paste.
To use the Clipboard feature, your browser may prompt for permission to see text and images copied to the clipboard. You MUST click Allow for the Clipboard copy and paste functionality to work. As an alternative, you may use the FN Keys icon to access keyboard shortcut buttons from the toolbar.

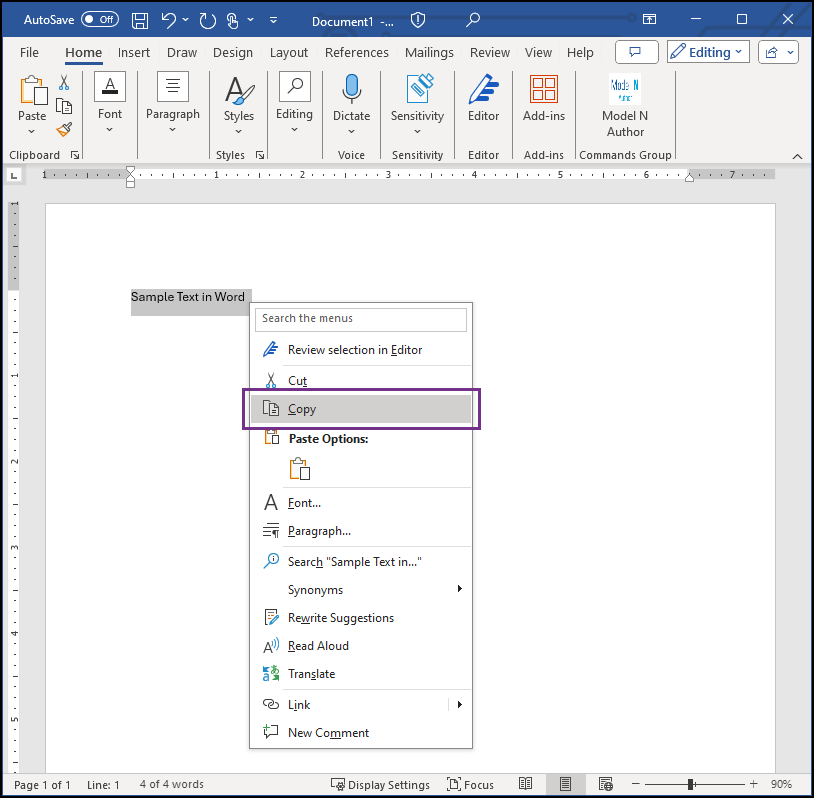
Copying from a Local Application to AppStream
1. Select information on your computer and copy it to your clipboard. (Ctrl + C)
2. In AppStream, click the Clipboard icon.
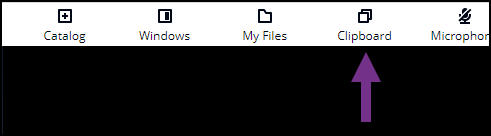
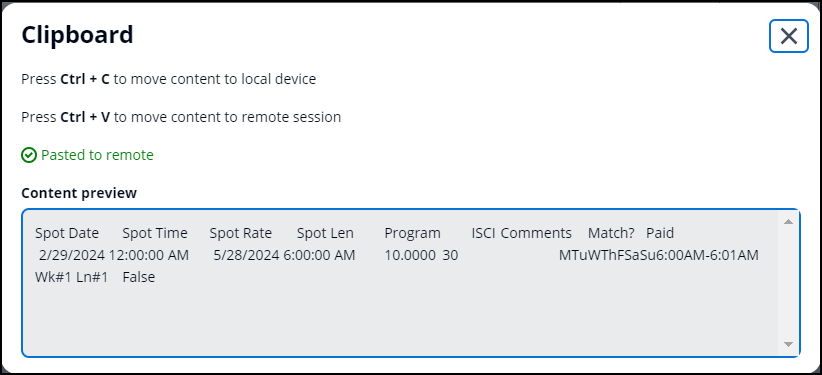
3. The Clipboard dialog will display. Click Ctrl + V to paste the content. A "Pasted to remote" message will display.

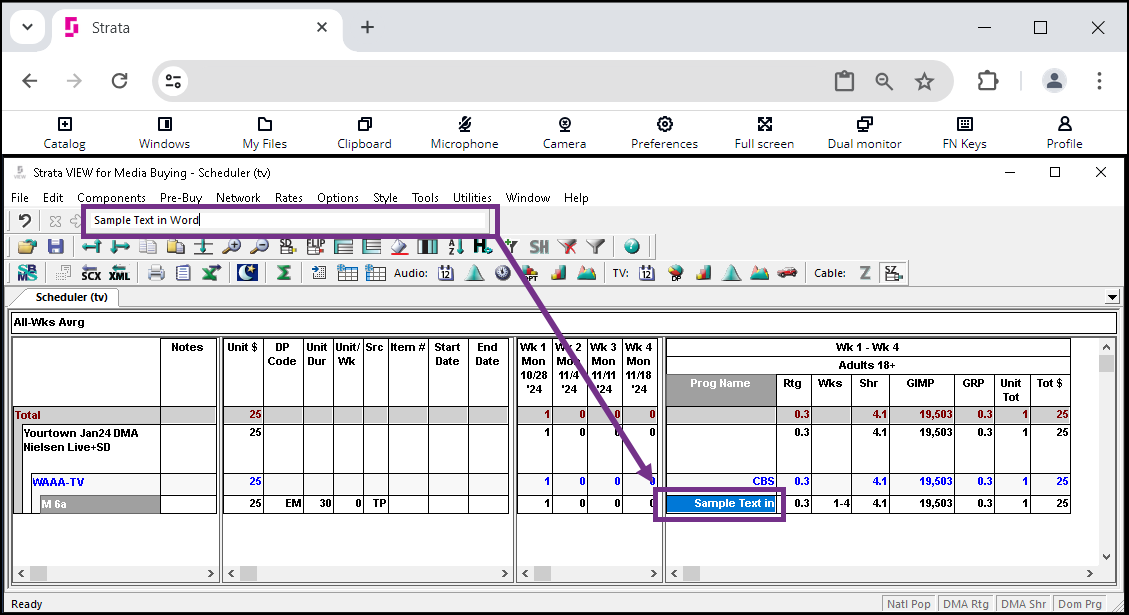
4. Now you can paste into an app in AppStream. For example, if looking to update a program name in View, click the programming field, highlight the text in the input box, and click Ctrl + V to paste.
Copying from AppStream to a Local Application
1. While working in an app on AppStream, highlight what you want to copy and click Ctrl + C. For example, if you were looking to copy invoice info from SBMS, highlight the grid and click
Ctrl + C. 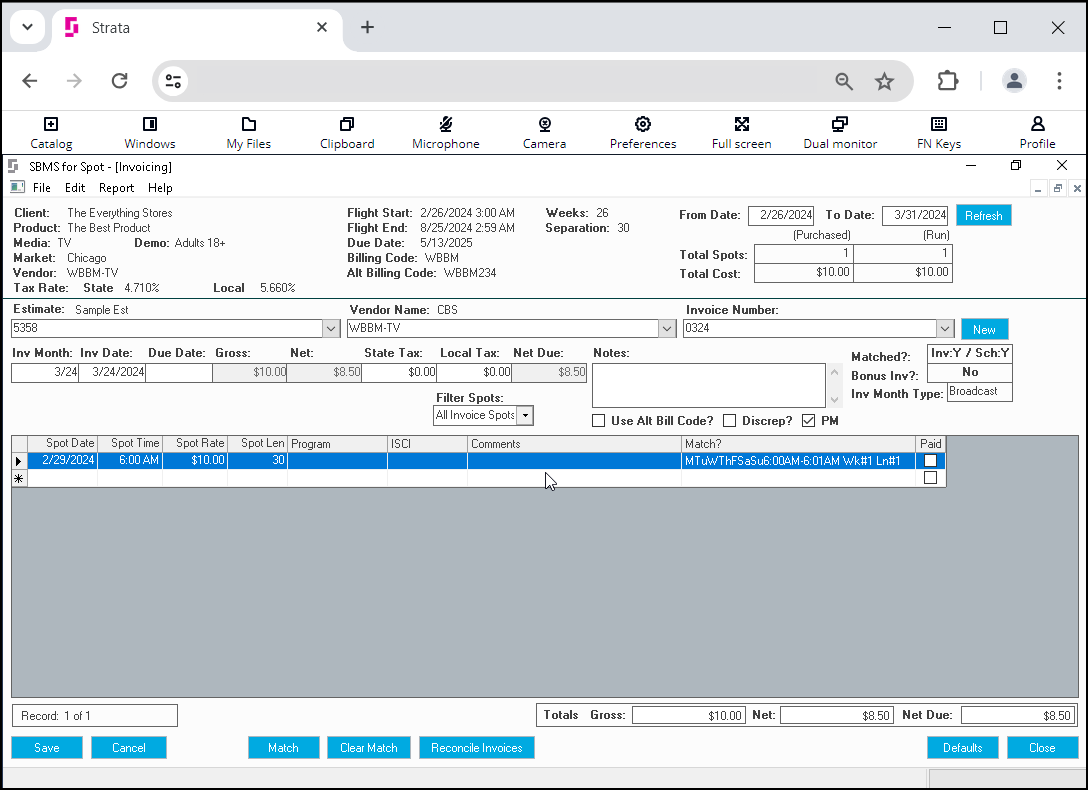
2. In AppStream, click the
Clipboard icon.
3. The Clipboard dialog will display. Click
Ctrl + V to paste the content. A "
Pasted to remote" message will display
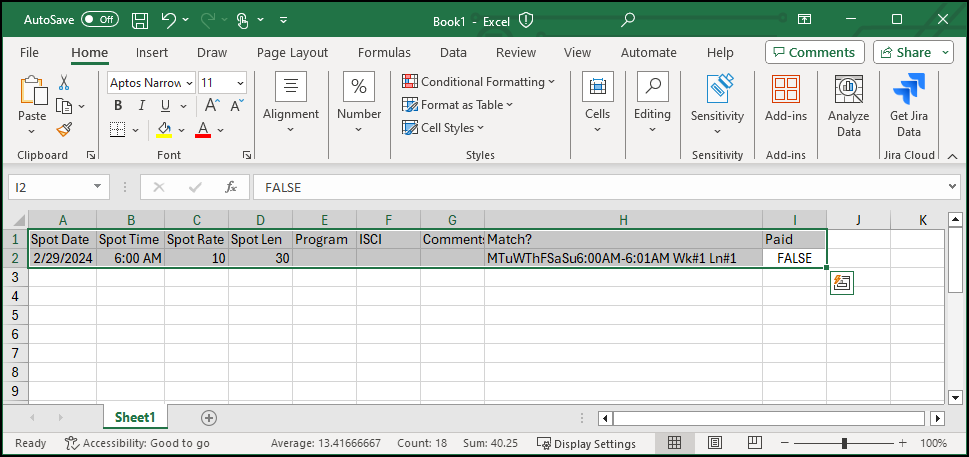
4. Now you can paste into a local application using
Ctrl + V. For example, here's the SBMS invoicing information pasted into an Excel spreadsheet.
Return To Top
The Microphone will NOT be enabled in AppStream and can be ignored.

Return To Top

The Preferences dialog features three tabs: General, Regional Settings, and Performance.
General - Display/Resolution/Experience
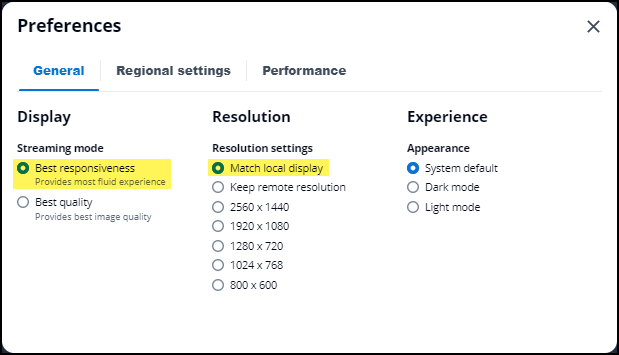
For the best performance in AppStream, we recommend the following:
- In the Display section under Streaming mode, select Best responsiveness.
- In the Resolution section under Resolution settings, select Match local display.
- The Experience section under Appearance offers different modes for visibility and reduce eye strain. Choose your preferred option.
PC Preferences:
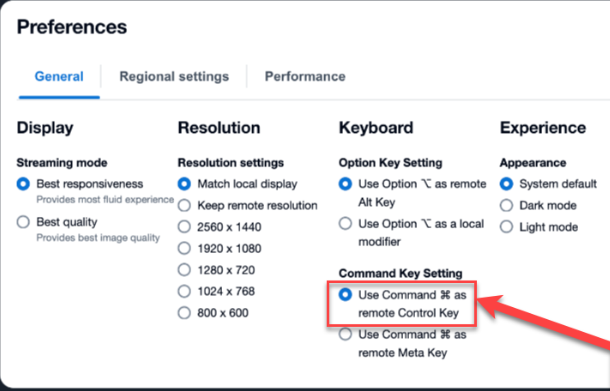
The Preferences for Mac users also contains Keyboard options for mapping keys to Windows. These options would need to be set for each session login.
Mac Preferences:
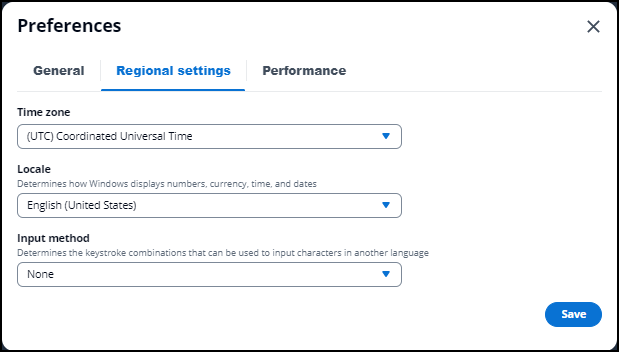
Regional settings
Select Regional settings to update Time zone, Locale, or Input method.
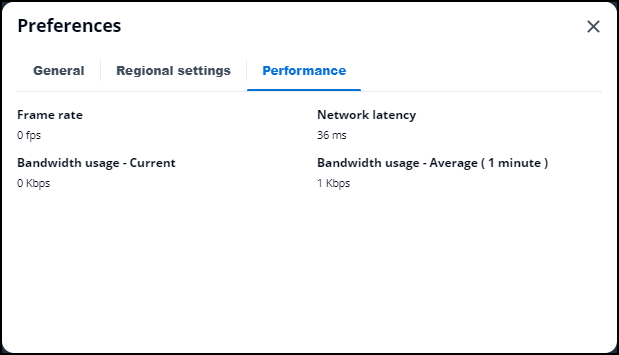
Performance
This is used to track performance in AppStream.
Return To Top

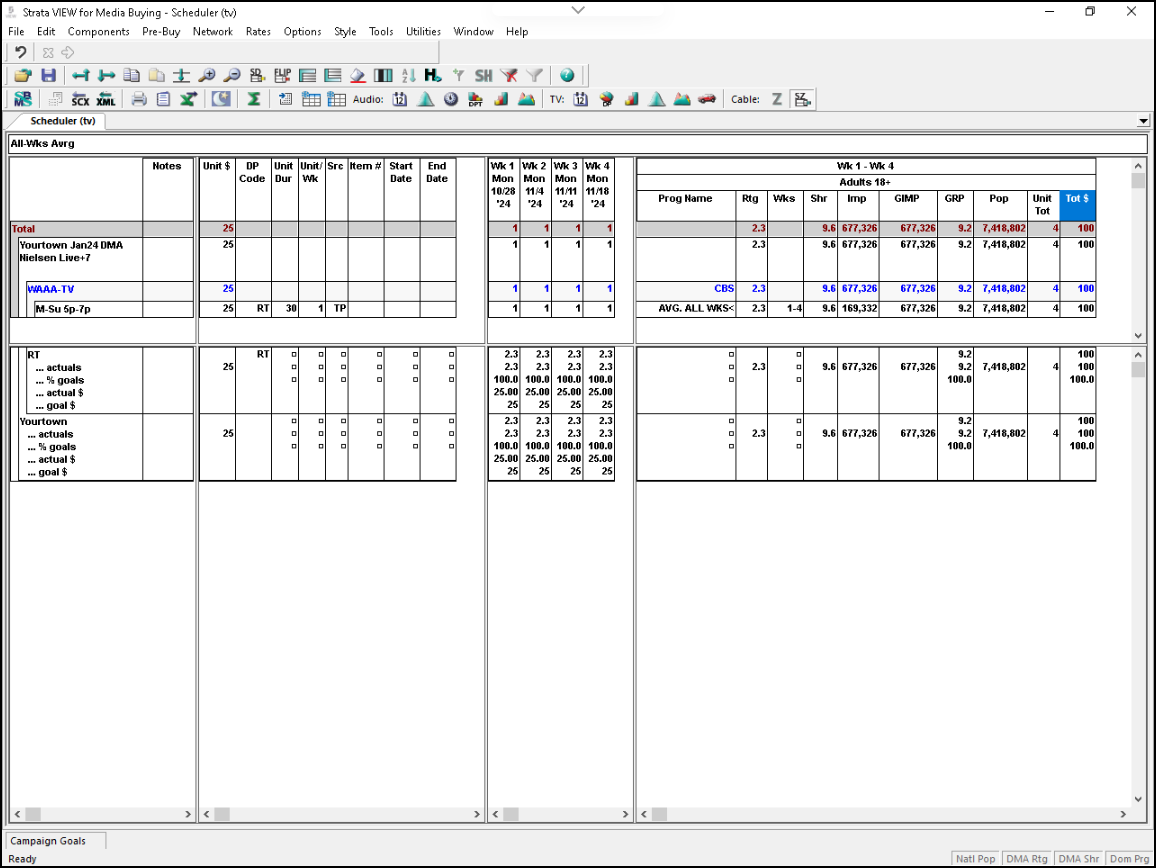
You may prefer to use apps on AppStream in “Full Screen” for better visibility. The Full screen icon in the toolbar expands the current apps to full screen mode.
For example, the following monitor displays the View app in the browser.
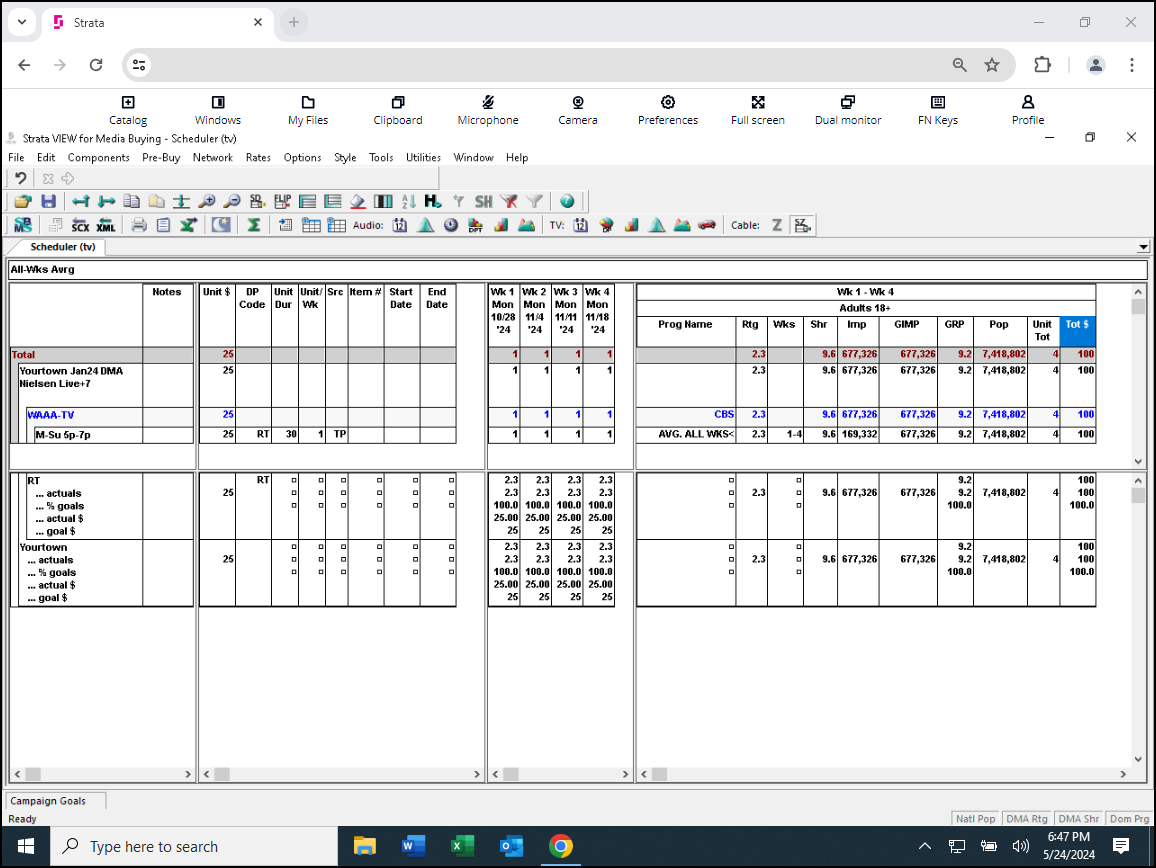
If you click the Full screen icon, the View app will fill the entire monitor. To exit full screen, press ESC on the keyboard.
Note: Keyboard shortcuts will work for full screen mode. Full screen mode can also be used with Dual monitor mode.
- Windows PC: Click F11 to enter or exit full-screen mode. The AppStream toolbar remains at the top when using the F11 key.
- Mac: Click the green “Maximize” button to enter full-screen mode. The AppStream toolbar will remain at the top of the window. Click Control + Command + F to exit full screen.
Return To Top

AppStream supports the use of up to two monitors, including monitors that have different resolutions. The maximum display resolution is 4096 x 2160 pixels per monitor. To help ensure an optimal streaming experience, we recommend you set the display scale for your monitors to 100 percent to start with if you use two monitors. We also recommend that you use the default setting 'Match local display' in Preferences > General > Resolution. (See Preferences icon for more info)
NOTE: If any screens appear to be cut off or buttons are missing, please change the Display/Zoom settings in your browser to view the entire page. You may have to update the browser setting and then log out and log back in. If the issue persists, please Submit a Support Case via the Support Portal.
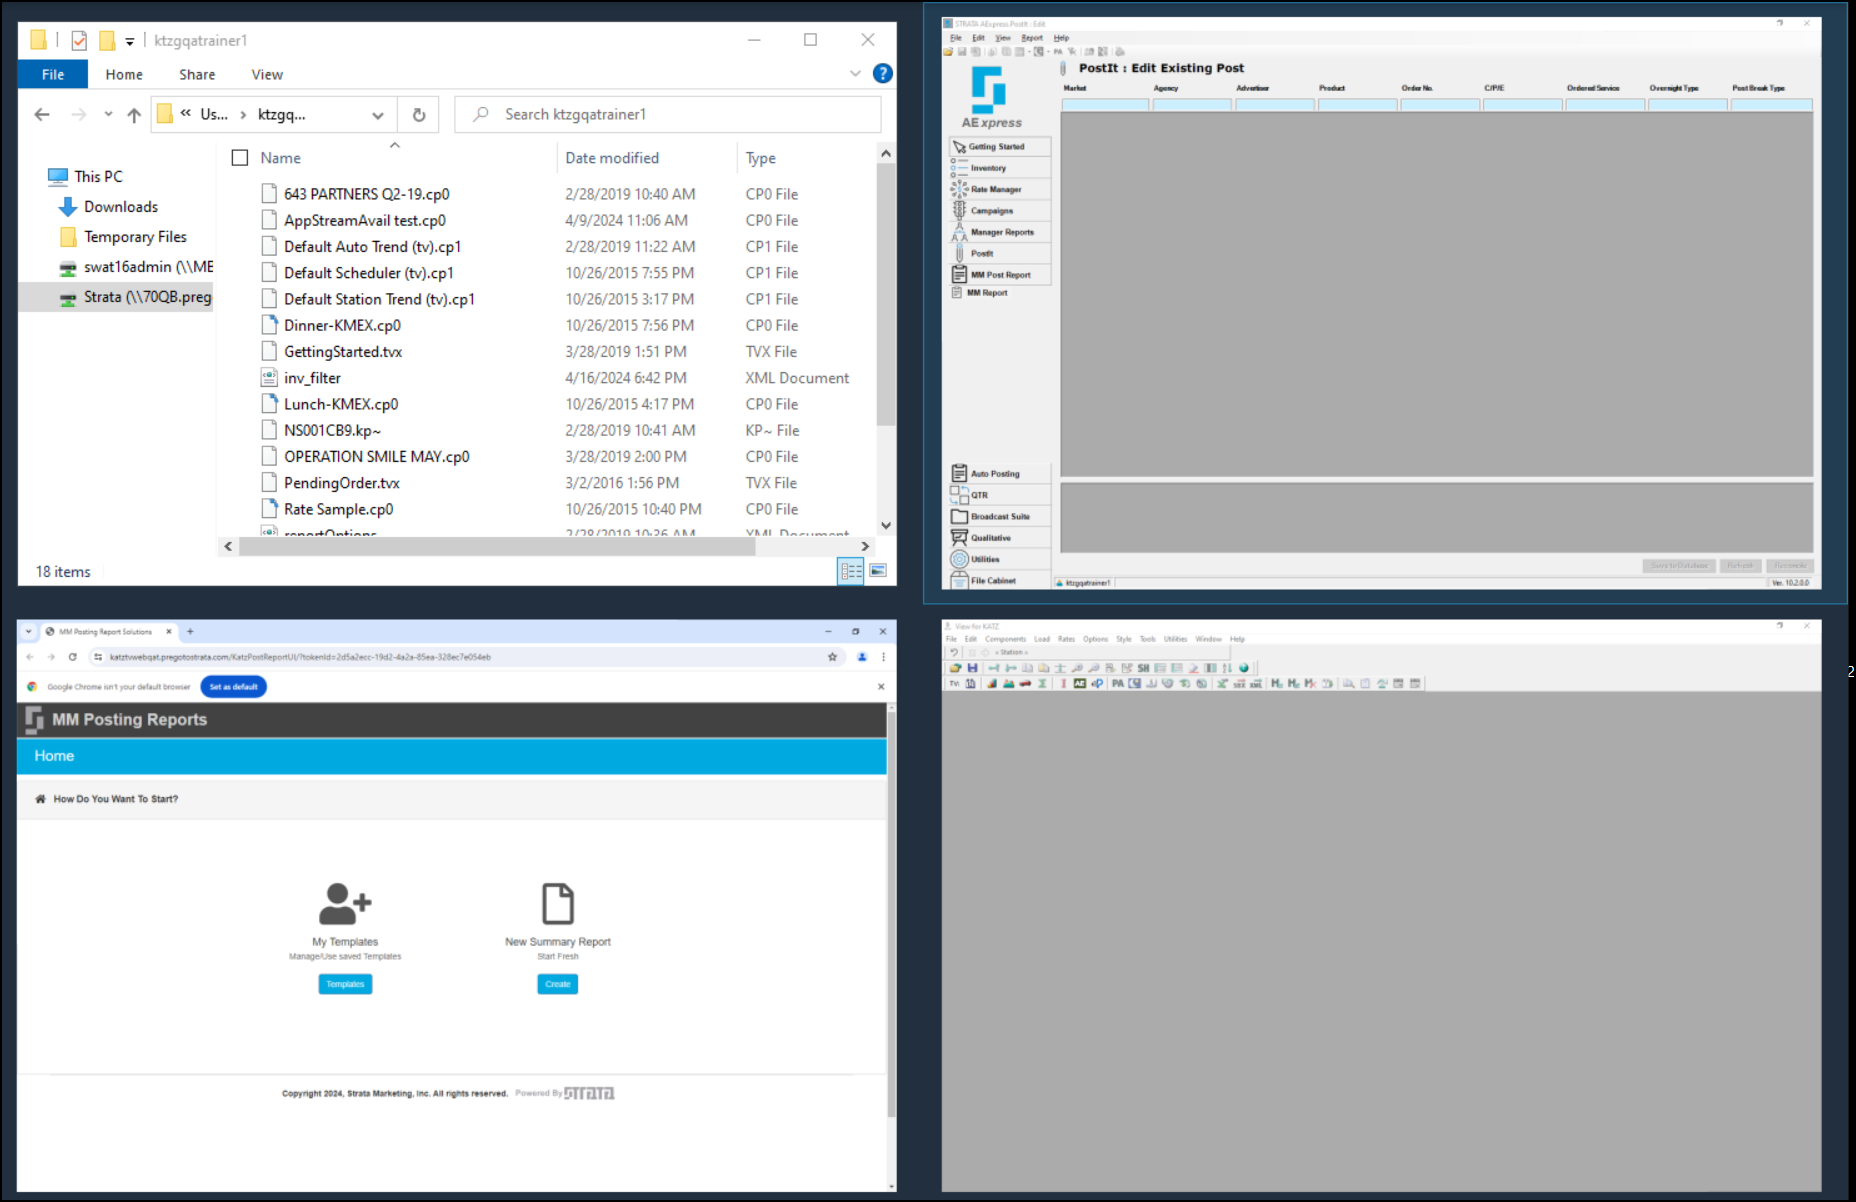
When the Dual monitor icon is clicked, a window will appear over the top of the open AppStream session as shown below. The window with the black box can be moved only to the right to another monitor.
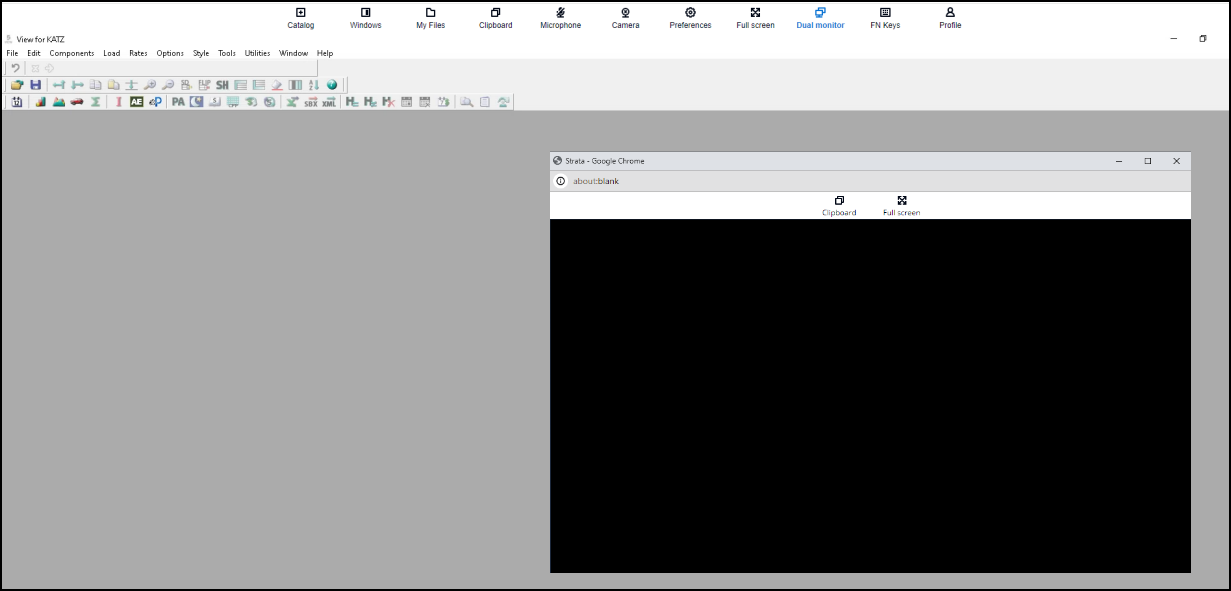
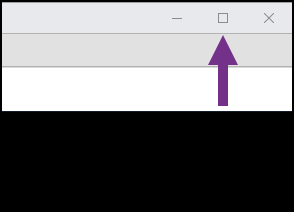
Click and drag the window to the right to another monitor and click the Maximize button.
This allows you to view two apps on AppStream at the same time, side by side.
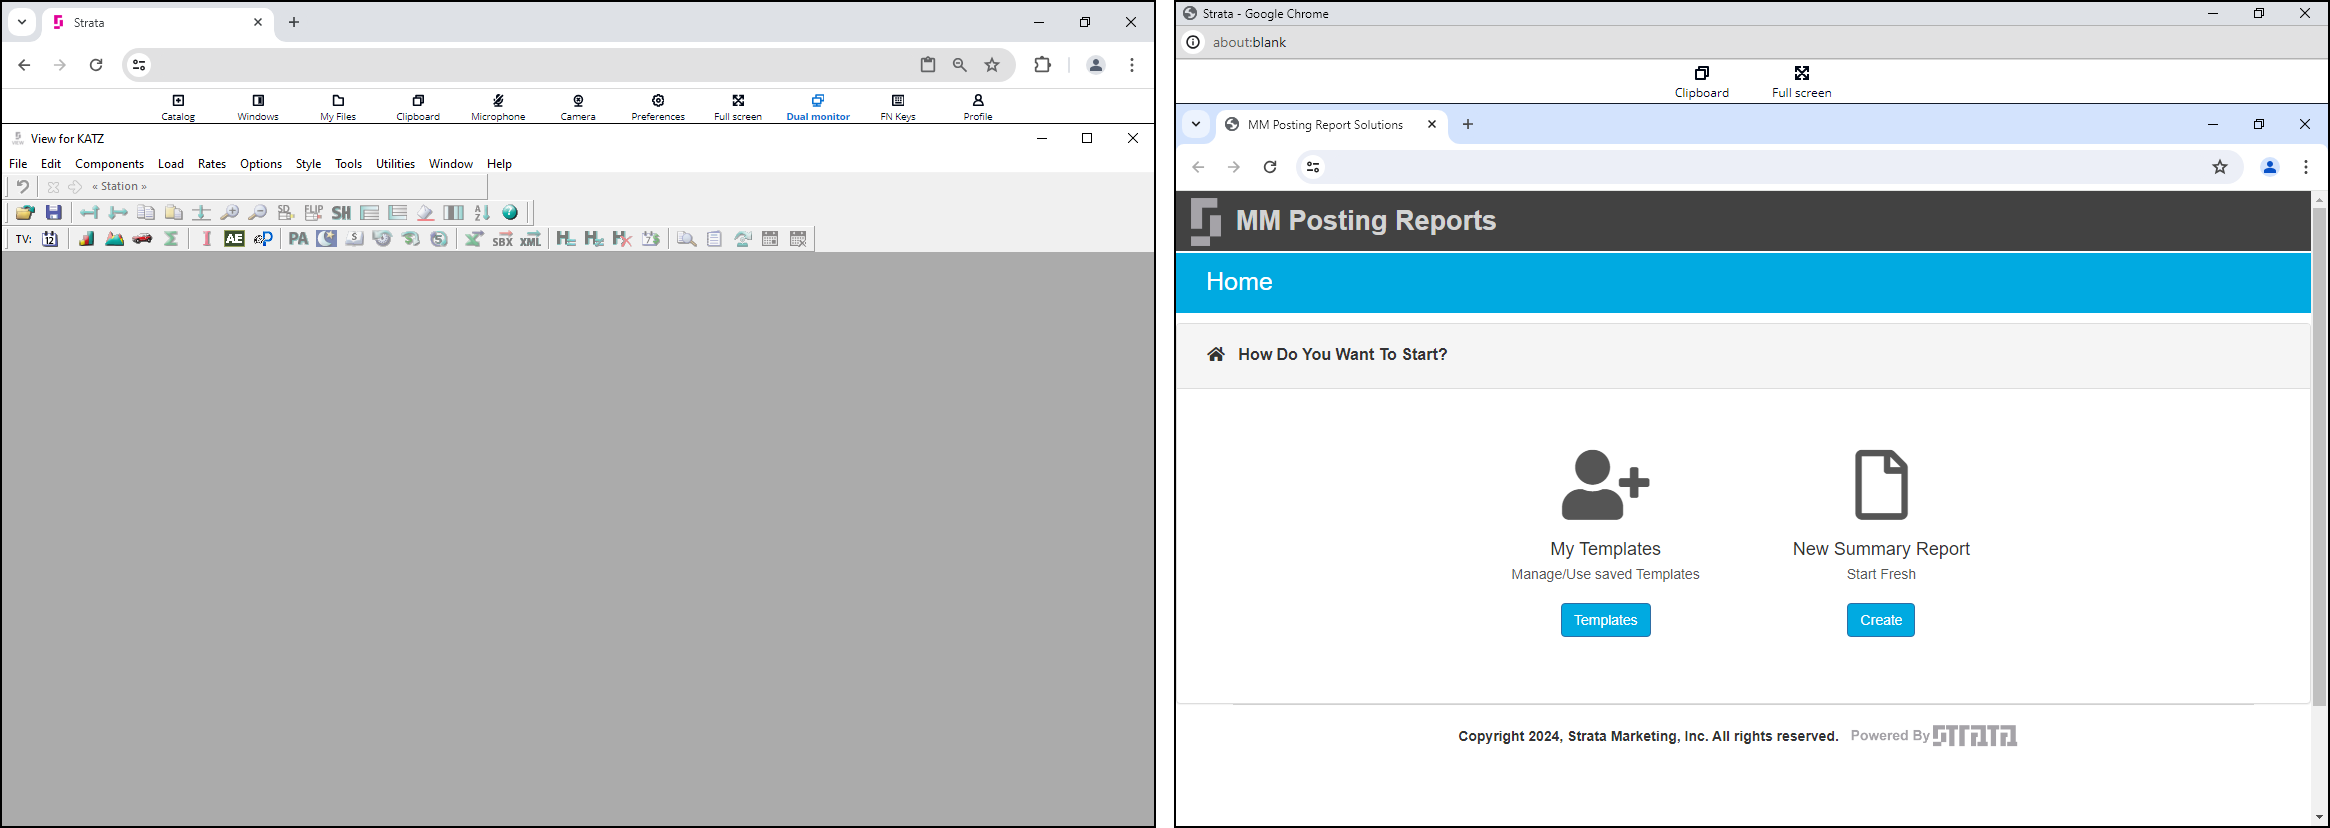
Note: You can also use the Dual monitor icon and then float panes in VIEW and move them to another monitor. For example, you can view a Scheduler and a Weekly Ranker at the same time on separate monitors by floating and dragging the pane. You can also use Full screen mode on both monitors when in Dual monitor mode.
Return To Top
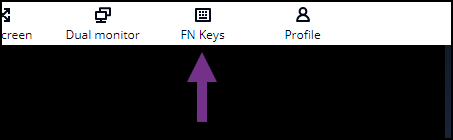
FN Keys (Keyboard Shortcuts)
The FN Keys button opens a menu with key combinations and shortcuts in the AppStream desktop.
Click FN Keys on the AppStream toolbar
AppStream will display a row of Windows-specific function keys and keyboard shortcuts.

To close the FN Keys, click the FN Keys.

Note: The Open on screen keyboard option will NOT be enabled in AppStream and can be ignored.
Return To Top

Click on the Profile icon to open a dropdown menu with the options below:
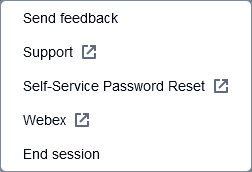
- Send feedback - This option is not enabled and can be ignored.
- Support - This option directs to the Support Portal. For instructions to login to the site, review article Freewheel Support Options.
- Self-Service Password Reset - This option directs to Freewheel's Self-Service Password Reset System. This site offers account maintenance options. For complete details, review article AppStream: Logging in, Password Reset, and launching Freewheel Applications.
- Webex - Please use this option when asked to start a Webex session for troubleshooting with a Client Service rep.
- End Session - Selecting End session will end the AppStream session and close all applications.
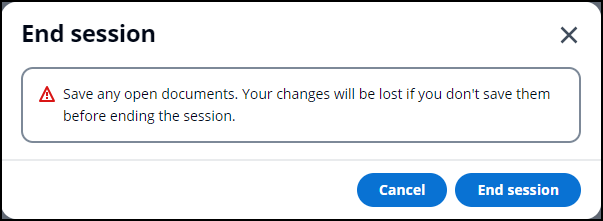
If you end your session and want to log back in right away, you will need to return to the login page using the appropriate URL. Wait 1-2 minutes after closing a session, and close your browser before going back to the login page. As an alternative, use Incognito/Private mode, use another browser, or clear the browser cache and restart the browser after logging out.
Note: When the AppStream session ends, all files in the Temporary Files folder will no longer be available on the next login. Files in the Home Folder will remain up to 10 days before being removed. Any necessary files needed for later use within AppStream should be moved to the Strata drive (aka S Drive). Any necessary files needed in the local computer MUST be downloaded from AppStream prior to ending the session. Also, if the AppStream session remains idle for 2 hours, the session will time out and end automatically.
For complete My Files details, please see: AppStream - How to use My Files to upload, download, and move files.
Return To Top